ZION NATIONAL PARK – DAY 1
With as large as Zion National Park is, we knew we wanted to do at least two days here. There were quite a few trails closed in spring 2019 due to damage from past rains and years. With the amount of snow some of the mountains close by got, The Narrows was also not open. We were really looking forward to hiking The Narrows, but it was not doable this time around. That just means we have to go back!
From Kanab the drive to the entrance of Zion is about 45 minutes via the Mt. Carmel Highway. YOU WILL NEED YOUR PARK PASS. Once you get your pass checked it’s another 12 miles through some extreme switch backs to the parking area. If you can take this route, I highly recommend it. Driving down into Zion is just massive and awe inspiring. I cant even explain the massiveness of the cliffs and the colors are just beautiful – green trees, red, orange and white sandstone layered high & visually just impressive.
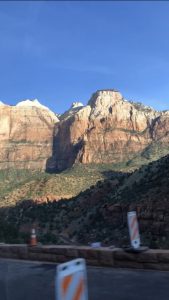
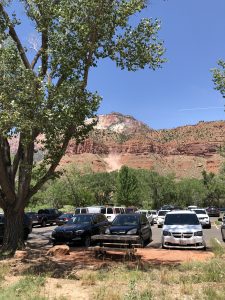
We went on a Monday hoping it would be less crowded. We got to the parking lot at the main entrance by about 7:45-8:00am and honestly by 8:30am it would have been filled to capacity. If the parking lot fills you have to exit the park, park in the town of Cannondale and shuttle in or walk in. We did NOT want to do that.
At the main parking lot, you have restrooms, picnic tables, the gift shop, visitor center and the shuttle service all right there. It’s a good meeting point. I originally wanted to park at the end of the Mt. Caramel Highway (shuttle stop #3) – but was glad we did not. It was not worth it to be parked in the baking sun with no seating or restrooms.
Once we had our backpacks and water, we made the plan to go all the way to the end of the line – Stop 9: Temple of Sinawava – then work our way back to the car. TIP: ALWAYS TAKE SNACKS!! We did not but I’ll get to that later.
The shuttle is honestly great. It stops at every stop going up and down the path in the canyon & the speaker gives you good information as you’re traveling. It can be repetitive depending on how much you ride, but it’s nothing to get annoyed over. I know some felt it was very “Disney-eques,” however, I thought it was informative and a good way to learn along the way…. With the shuttle, sure, you wait in line for a bit but it’s so nice in the park and no one is annoying… we’re all just trying to get to the same places & enjoy it. We never waited too long for the shuttle – except after lunch which was a busy time. That was about 22 minutes of waiting.
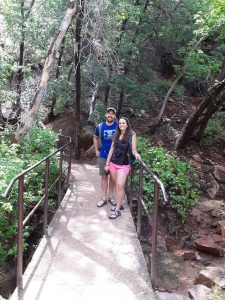
Starting at Stop #9 – The Riverwalk
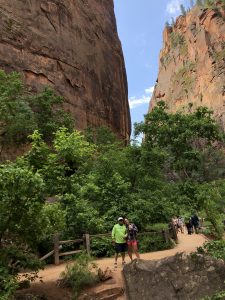
This is 1.8miles round trip and paved. They said this trail was handicapped accessible but I’m not sure it’s the easiest for a wheelchair. Nevertheless, it was an easy hike even though it was heavily trafficked. Being early in the day, we wore layers which was a good idea because the walk was covered from the sun and cool. As I said earlier, Zion had massive snow melt and “The Narrows” was closed due to the water moving too fast… but here is where you would have started that trek.
TIP: WEAR SHOES WITH GRIP – everything in Zion is sandy & if it gets wet, it becomes a lot more slippery.
TIP: GET OFF THE PAVED PATH – & get closer to the river.
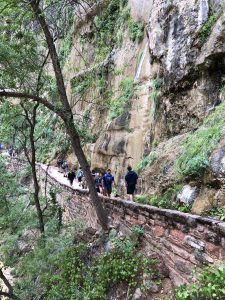


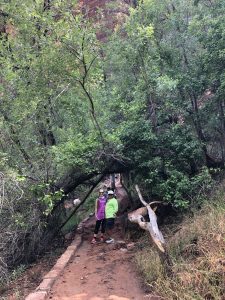
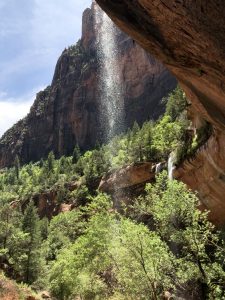
Stop #7 – Weeping Rock
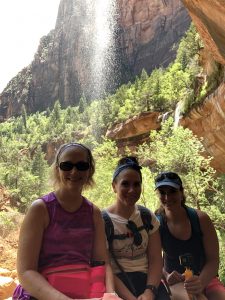
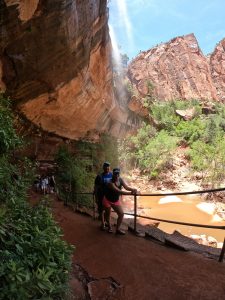
This is a short 0.3 miles round-trip trek but STEEP. At the end of this hike there is an alcove that you can stand under while a waterfall/ or just a dribble depending on how much it’s rained, pours over. This is a nice lush, green hike and another cooler hike.
TIP: AGAIN, WEAR SHOES WITH GRIP – tennis shoes were a bad idea as they just do not have enough and are not waterproof. It was really muddy and wet under the alcove.
At the end of this hike it was a little before noon and we were all pretty hungry, so we went back to the parking lost to have lunch, rehydrate and get off our feet. Back to the SNACK TIP: Always bring them. If you have low blood sugar or do not know how long you’ll be out before lunch everyone should always, always, always pack their own bag/ fanny pack, pockets, etc… with something! Nuts and snack packs are so important & I can’t stress this enough. Someone in the group will always inevitably be hungry & everyone is usually on different feeding schedules. Even though the hikes aren’t long they end up being long with pacing and photos and just discovering the area.
After lunch we had a few more things we wanted to see so we went back in the shuttle line to head out. While we were waiting, we heard a loud crashing sound and I looked toward the west side of the canyon and saw a partial rockslide breakaway from the cliff. It was pretty cool because earlier in the day I had said I wanted to see one!! God delivered.
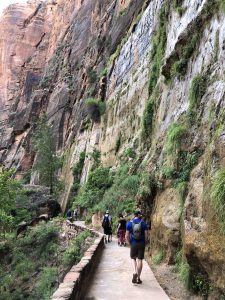
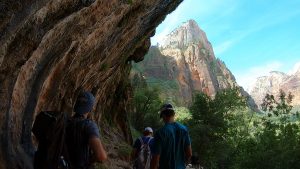
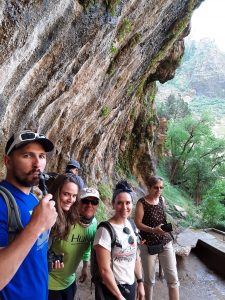
Stop #5 – The Grotto
At stop 5 we chose to explore the Lower Emerald Pool. Unfortunately, the middle and upper were closed and when we got to the end of the trail we could see a massive rock slide that took out the trial. I honestly have no clue when they’ll even remotely have that path back open… it’s been closed for a while now.
The Lower Emerald pools is a 1.3 mile round trip hike that is nicely shaded with some nice elevation gains. There are some great spots along the trail to stop and take photos and the short trek to the end was pretty and refreshing. The water was flowing pretty nicely over this alcove and it had a nice mist. The trail end here was very muddy & slippery – it was that red mud too that stains everything… wear your boots or Chaco’s that can get muddy.

By this time it was pretty warm in the day so we went back down to Stop #5: Zion Lodge where my dad was resting under a massive tree. This is the only stop that sells food. We refreshed with some soft serve ice cream and enjoyed sitting in the quite valley.
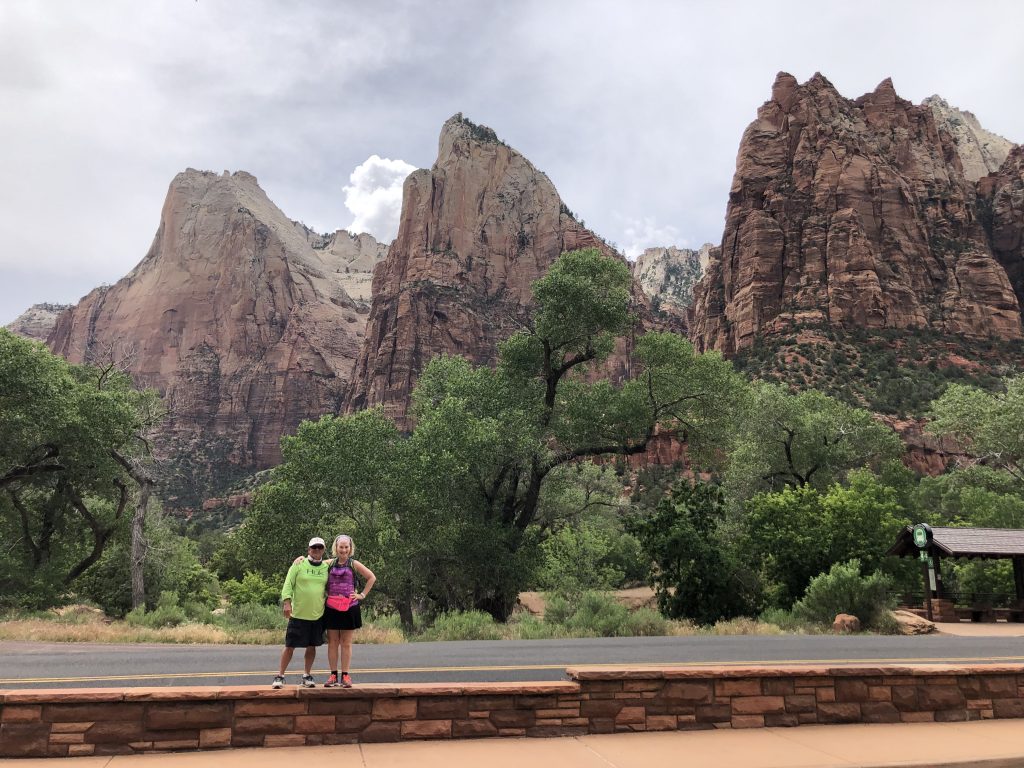
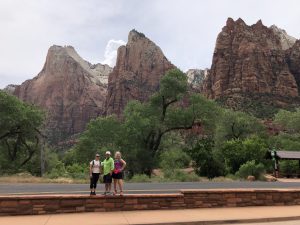
The last stop we wanted to at least get a photo at was #4: Court of the Patriarchs. These are 3 huge towers that a Methodist pastor and 2 young kids named after Abraham, Isaac & Jacob. We stayed right at the shuttle stop so we could get the towers in the background. After the quick photo we went back to stop 1, shopped the gift store and headed home. It was a wonderful day filled with so many amazing sights, sounds and enjoyment.
TIPS: